1Open the Driftwood dashboard and click Projects.accurate
VerdictKane followed the doc's exact words and reached the goal.
What Kane did
Literal passed
action · 28.6 cr · 70s- navigate: Navigate to http://localhost:4177
- click: Clicking Projects navigation link
- wait: PRIMARY: wait for the heading 'Projects' to be visible
- analyze: The page you end on has a main heading.
- analyze: it is stored as {{landed_on}}
- wait: Waiting checkpoint verification is complete
- wait: Waiting objective completed after clicking the Projects element and verifying the required checkpoint
opened Projects on the Driftwood dashboard
Clicked, per the evidence pack: Projects
Kane's screenshot at the end of this run, from its sealed evidence pack
Follow these steps literally, one at a time, from the current page. Click only what each step names. Never type a URL, search, or take another route.
Where to find them, in the tutorial's own words: "Open the Driftwood dashboard and click Projects."
1. Click the element whose visible label is exactly 'Projects'.
If the page you end on has a main heading, store it as 'landed_on'; a page without a heading is fine.
2Click Settings → API Keys and press Create key.drifted
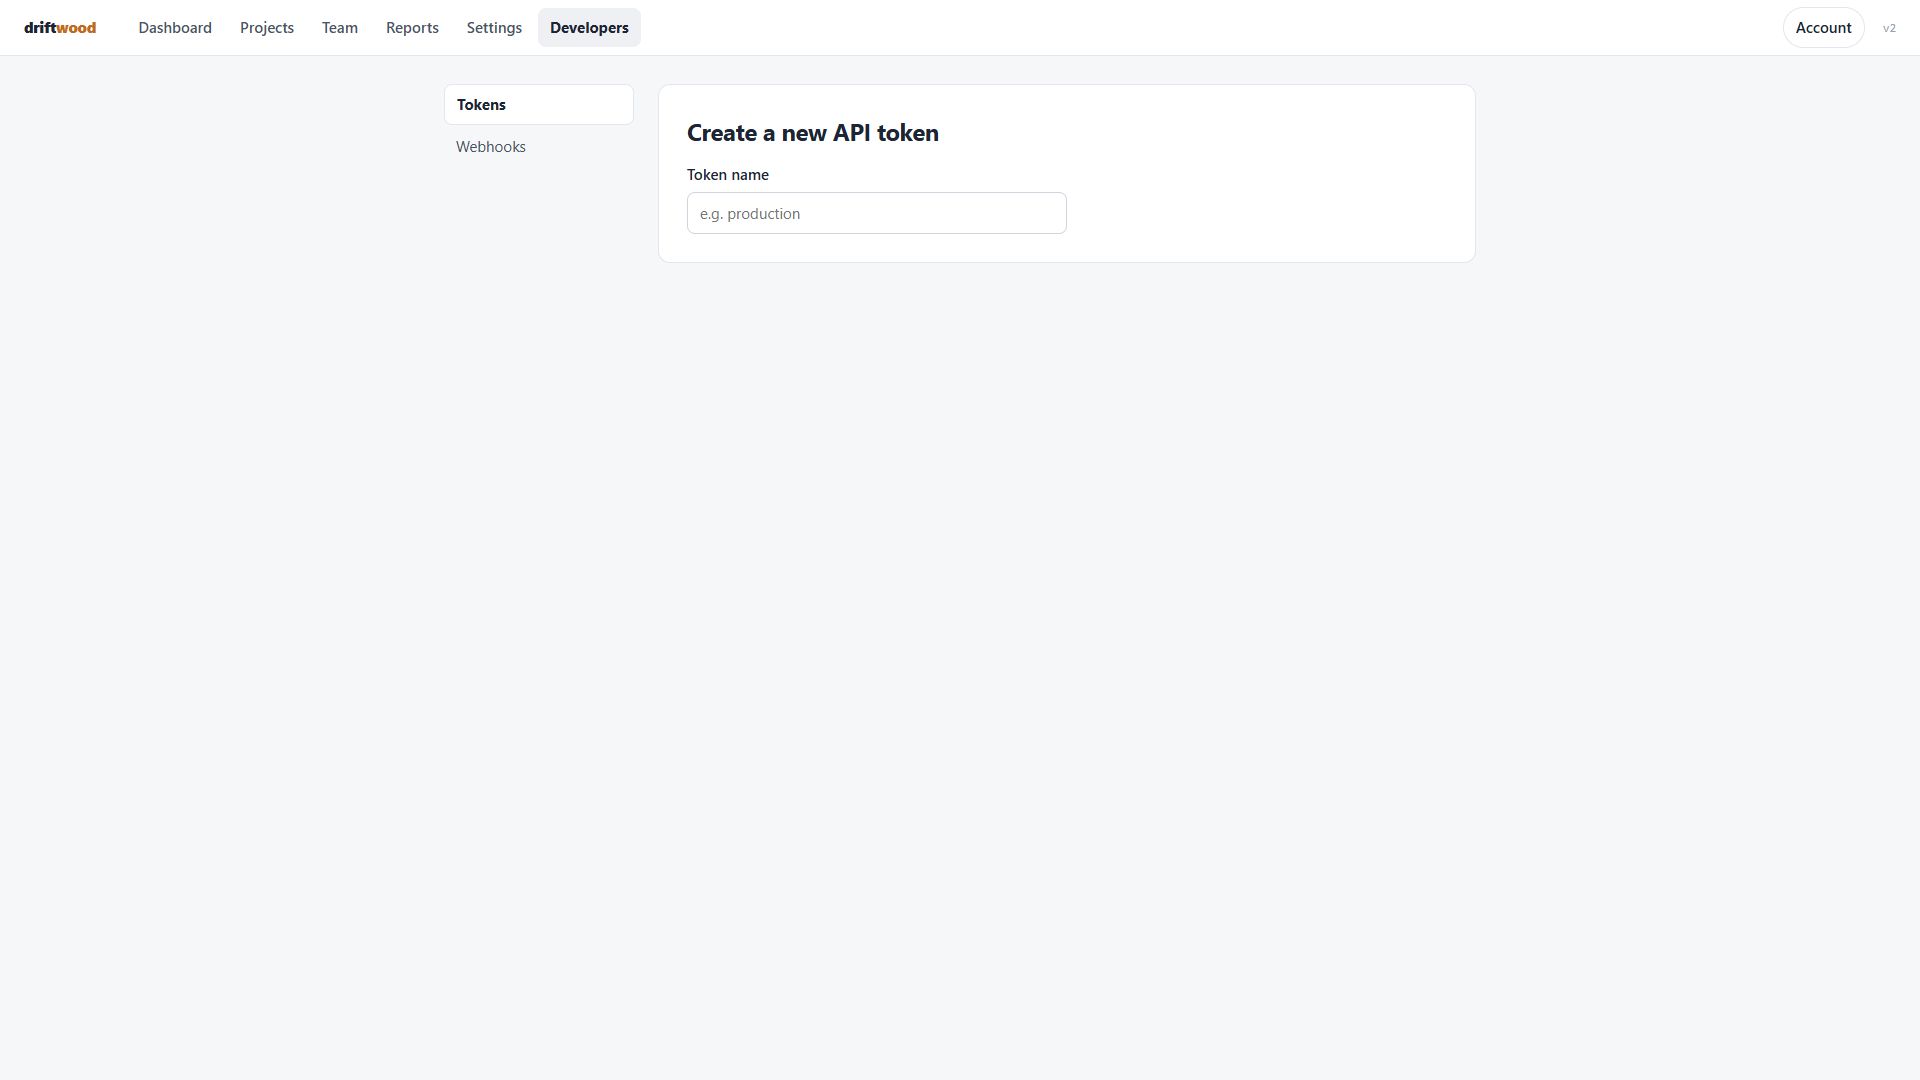
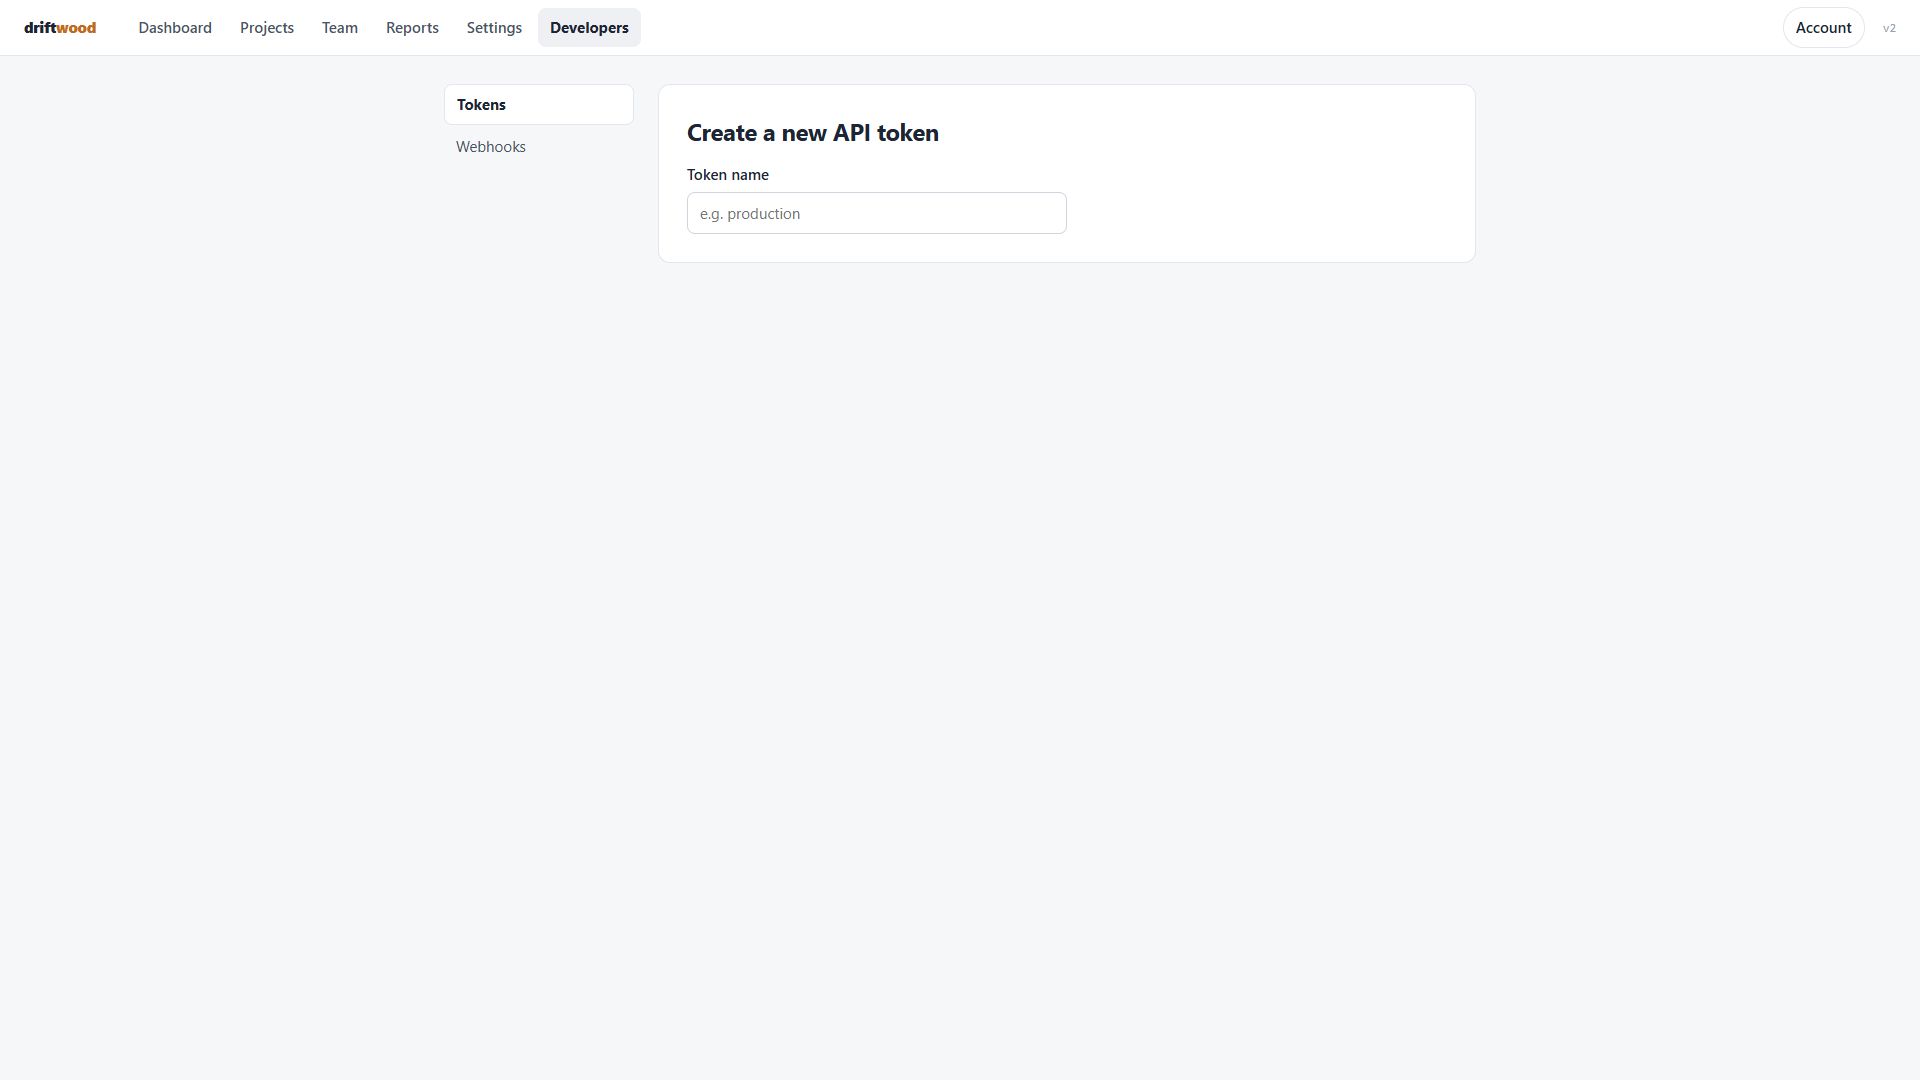
Real pathDevelopers → Tokens → New token
Kane's routeSettings → Developers → Tokens → New token
ReadOpen Developers → Tokens and press New token.
VerdictThe doc's words no longer work. Kane found the real path; the rewrite passed a literal run in loop 1.
What Kane did
Literal failed
action · 18 cr · 59s- navigate: Navigate to http://localhost:4177
- click: Clicking Settings link
- click: Clicking Settings link
- wait: Waiting after checking for the API Keys element
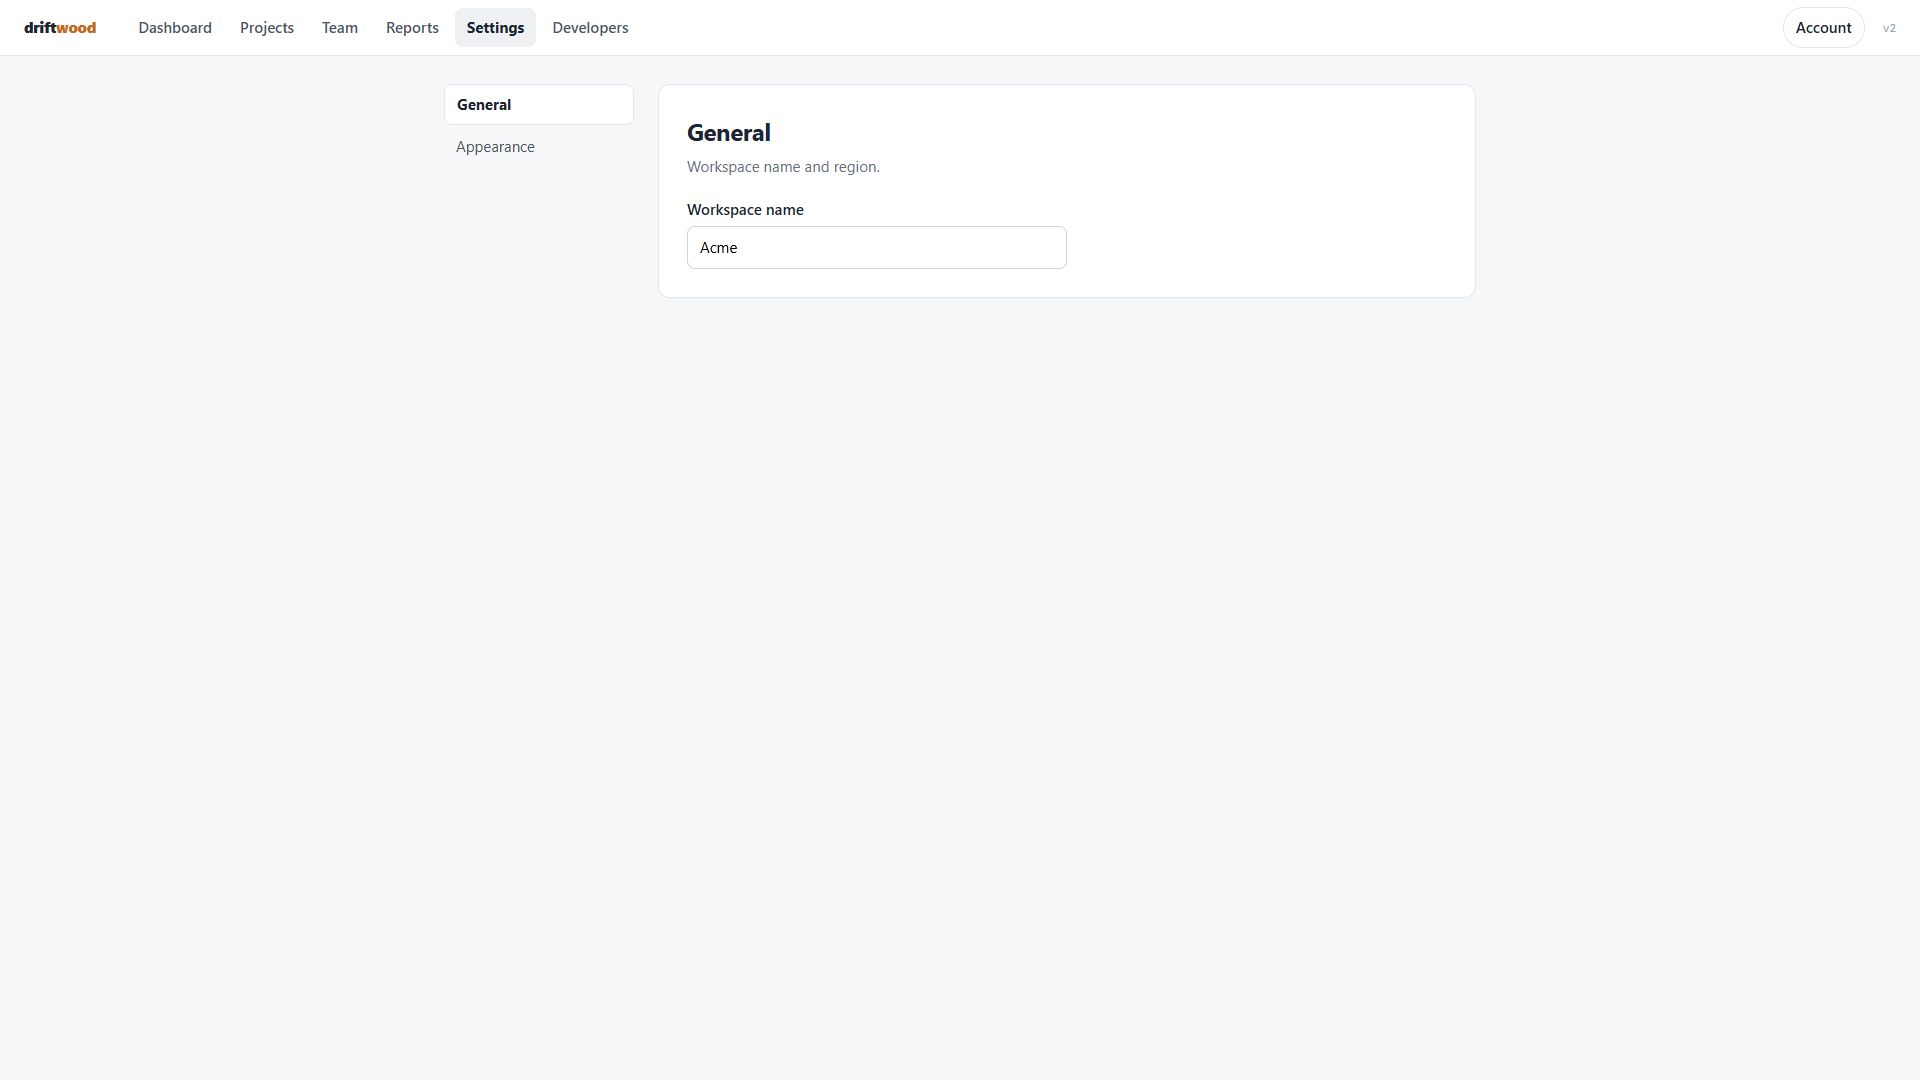
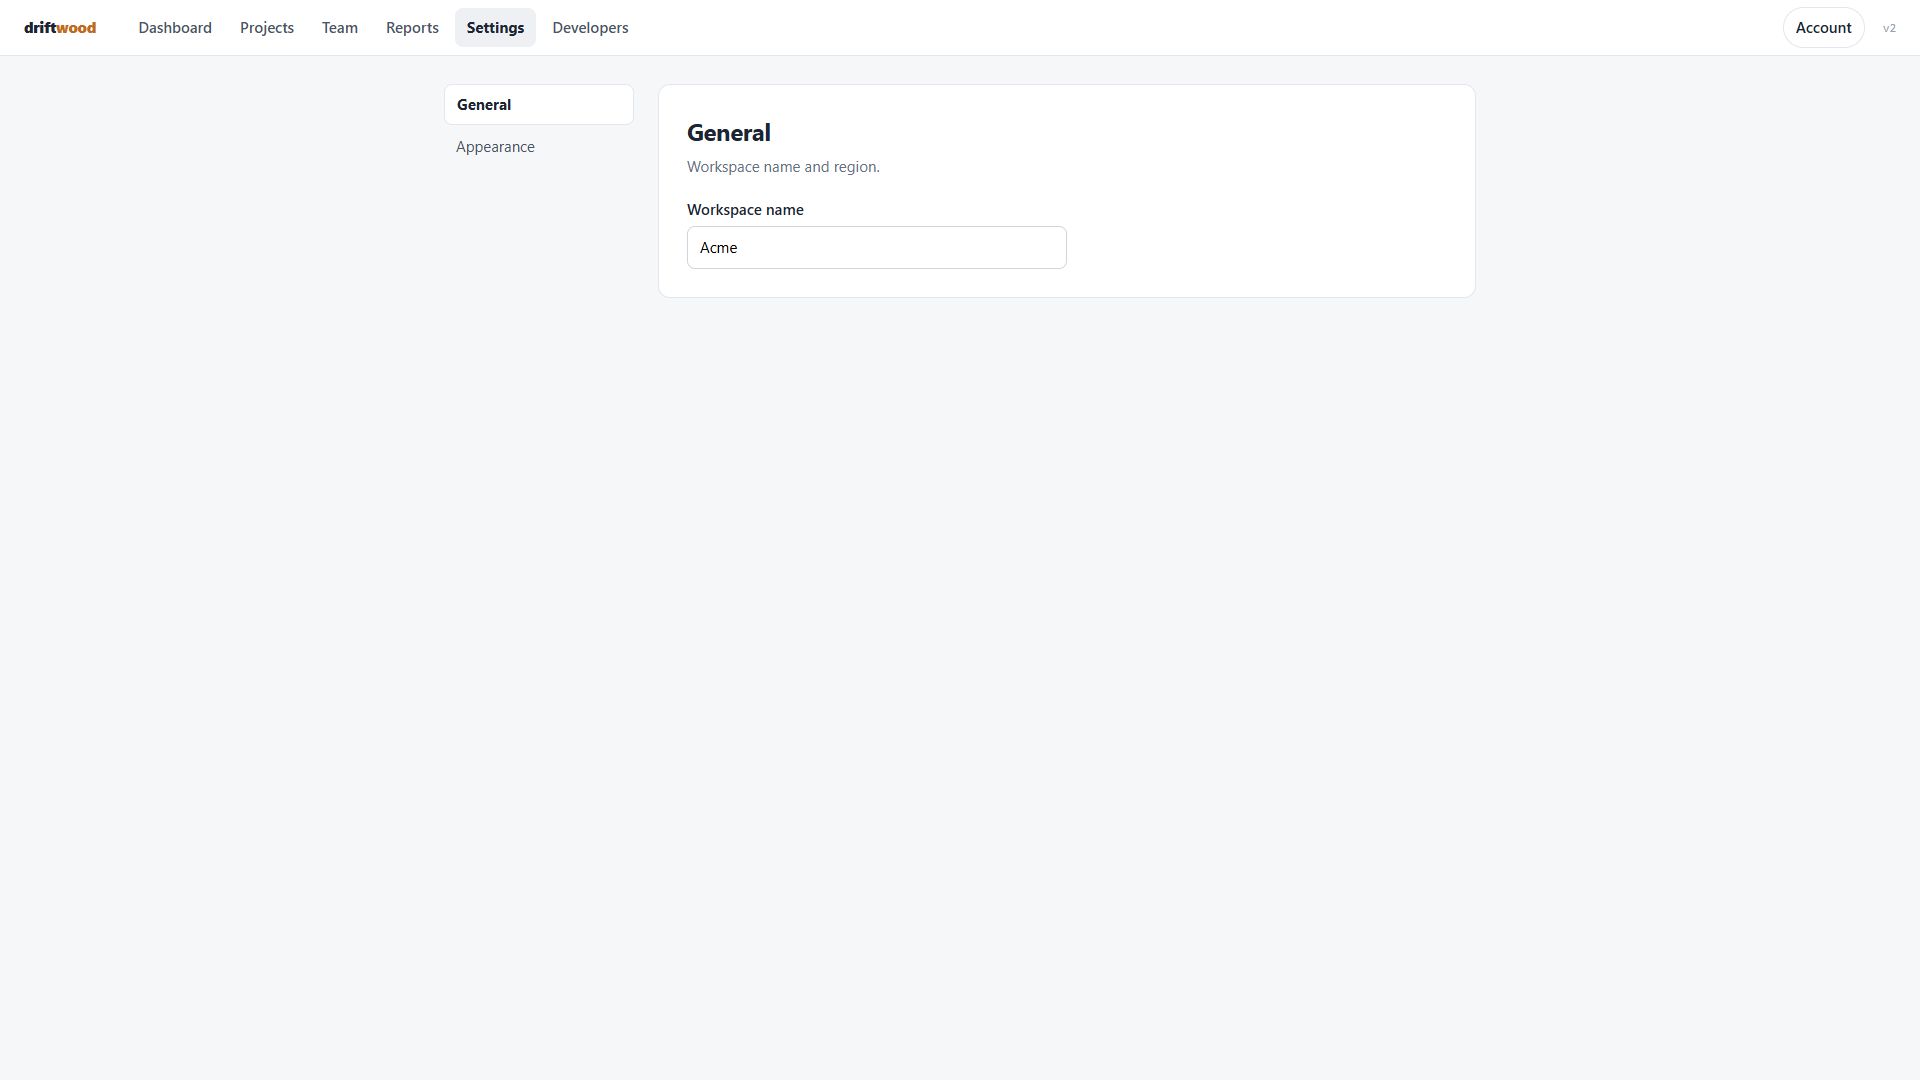
The run expected an API Keys option in Settings, but that option was not available in the current app state.
Clicked, per the evidence pack: Settings → Settings
Kane's screenshot at the end of this run, from its sealed evidence pack
Follow these steps literally, one at a time, from the current page. Click only what each step names. Never type a URL, search, or take another route.
Where to find them, in the tutorial's own words: "Click Settings → API Keys and press Create key."
1. Click the element whose visible label is exactly 'Settings'.
2. Click the element whose visible label is exactly 'API Keys'.
3. Click the element whose visible label is exactly 'Create key'.
If the page you end on has a main heading, store it as 'landed_on'; a page without a heading is fine.
Goal passed
testing · 34.3 cr · 91s- navigate: Navigate to http://localhost:4177
- click: Clicking Settings in the top navigation
- click: Clicking Developers link in top navigation
- click: Clicking Tokens in the Developers sidebar
- click: Clicking New token
- wait: PRIMARY: wait for the Create a new API token form to load
- analyze: ANALYZE(textual_visual, 'a form to create a new API key or token is visible on s
- assert: a form to create a new API key or token is visible on screen
- analyze: Get the main heading and save it as {{landed_on}}.
- wait: Waiting after saving the main heading
- wait: Waiting after verifying the completed API token creation form
opened the API token creation form on the developer portal
Clicked, per the evidence pack: Settings → Developers → Tokens → New token
Kane's screenshot at the end of this run, from its sealed evidence pack
Goal: a form to create a new API key or token is visible. Reach it from the current page by clicking through the visible UI, by any route. Never type a URL or use the address bar.
Hint: an old tutorial said "Click Settings → API Keys and press Create key.", but those labels may have moved or been renamed.
When the goal is met, verify it on screen. If the page you end on has a main heading, store it as 'landed_on'; a page without a heading is fine.
Proof · loop 1 passed
action · 30.6 cr · 60s- navigate: Navigate to http://localhost:4177
- click: Clicking Developers navigation link
- click: Clicking Tokens in the Developers sidebar navigation
- click: Clicking New token link in Tokens panel
- analyze: the page you end on has a main heading
- analyze: the literal "it" is stored as {{landed_on}}
- wait: Waiting after checkpoint verification
- wait: Waiting after confirming the Create a new API token heading
opened the new API token form on the Developers site
Clicked, per the evidence pack: Developers → Tokens → New token
Kane's screenshot at the end of this run, from its sealed evidence pack
Follow these steps literally, one at a time, from the current page. Click only what each step names. Never type a URL, search, or take another route.
Where to find them, in the tutorial's own words: "Open Developers → Tokens and press New token."
1. Click the element whose visible label is exactly 'Developers'.
2. Click the element whose visible label is exactly 'Tokens'.
3. Click the element whose visible label is exactly 'New token'.
If the page you end on has a main heading, store it as 'landed_on'; a page without a heading is fine.
3Copy the key into your .env file as DRIFTWOOD_KEY.not checkable
Happens outside the browser (terminal, files or email).
4Open Team and click Invite member.accurate
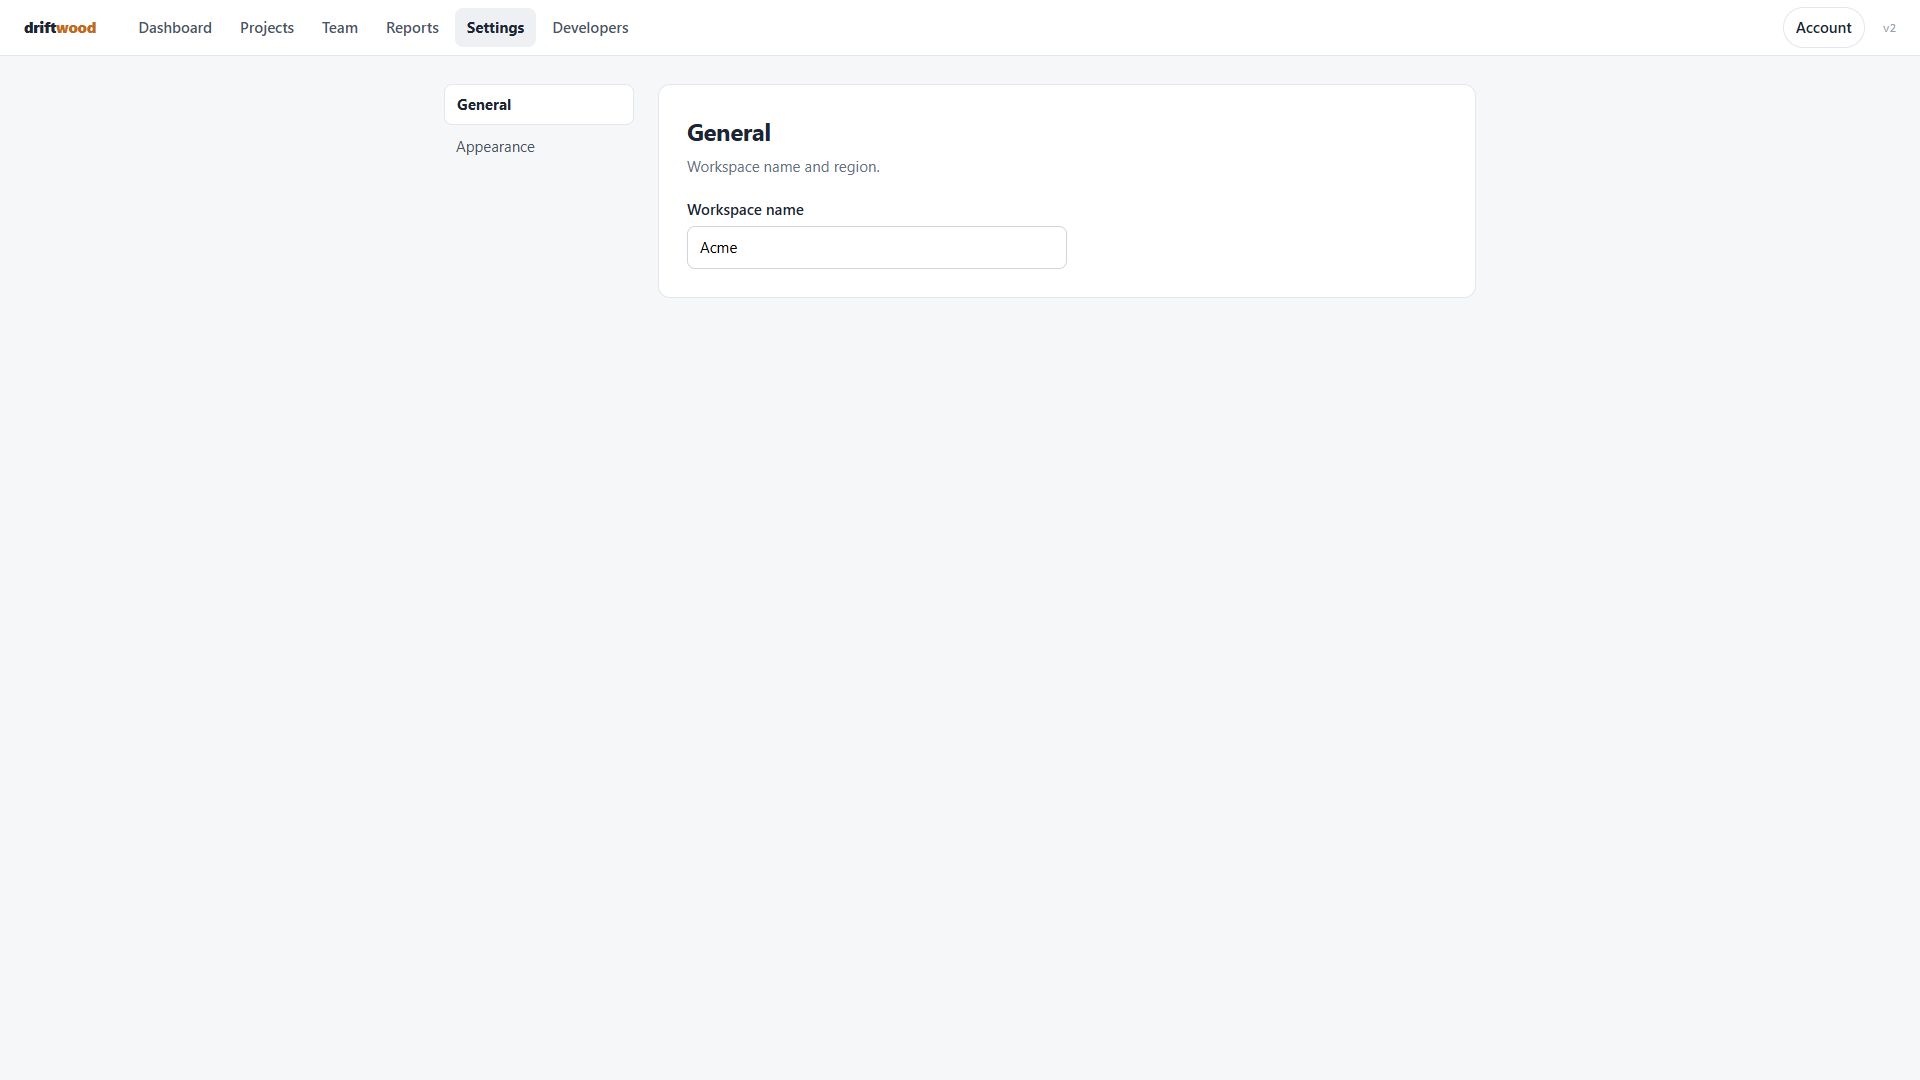
VerdictKane followed the doc's exact words and reached the goal.
What Kane did
Literal passed
action · 17.1 cr · 77s- navigate: Navigate to http://localhost:4177
- click: Clicking Team in the navigation
- click: Clicking Invite member
- analyze: The page you end on has a main heading.
- analyze: it is stored as {{landed_on}}
- wait: Waiting after checkpoint verification
- wait: Waiting after all requested clicks and checkpoint verification
opened Team and clicked Invite member on the settings site
Clicked, per the evidence pack: Team → Invite member
Kane's screenshot at the end of this run, from its sealed evidence pack
Follow these steps literally, one at a time, from the current page. Click only what each step names. Never type a URL, search, or take another route.
Where to find them, in the tutorial's own words: "Open Team and click Invite member."
1. Click the element whose visible label is exactly 'Team'.
2. Click the element whose visible label is exactly 'Invite member'.
If the page you end on has a main heading, store it as 'landed_on'; a page without a heading is fine.
5Go to Settings → Billing and open Invoices.drifted
Real pathAccount → Billing history
Kane's routeSettings → Account → Billing history
ReadOpen Account and click Billing history.
VerdictThe doc's words no longer work. Kane found the real path; the rewrite passed a literal run in loop 1.
What Kane did
Literal failed
action · 15.5 cr · 41s- navigate: Navigate to http://localhost:4177
- click: Clicking Settings link
- wait: Waiting after checking for the required Billing element
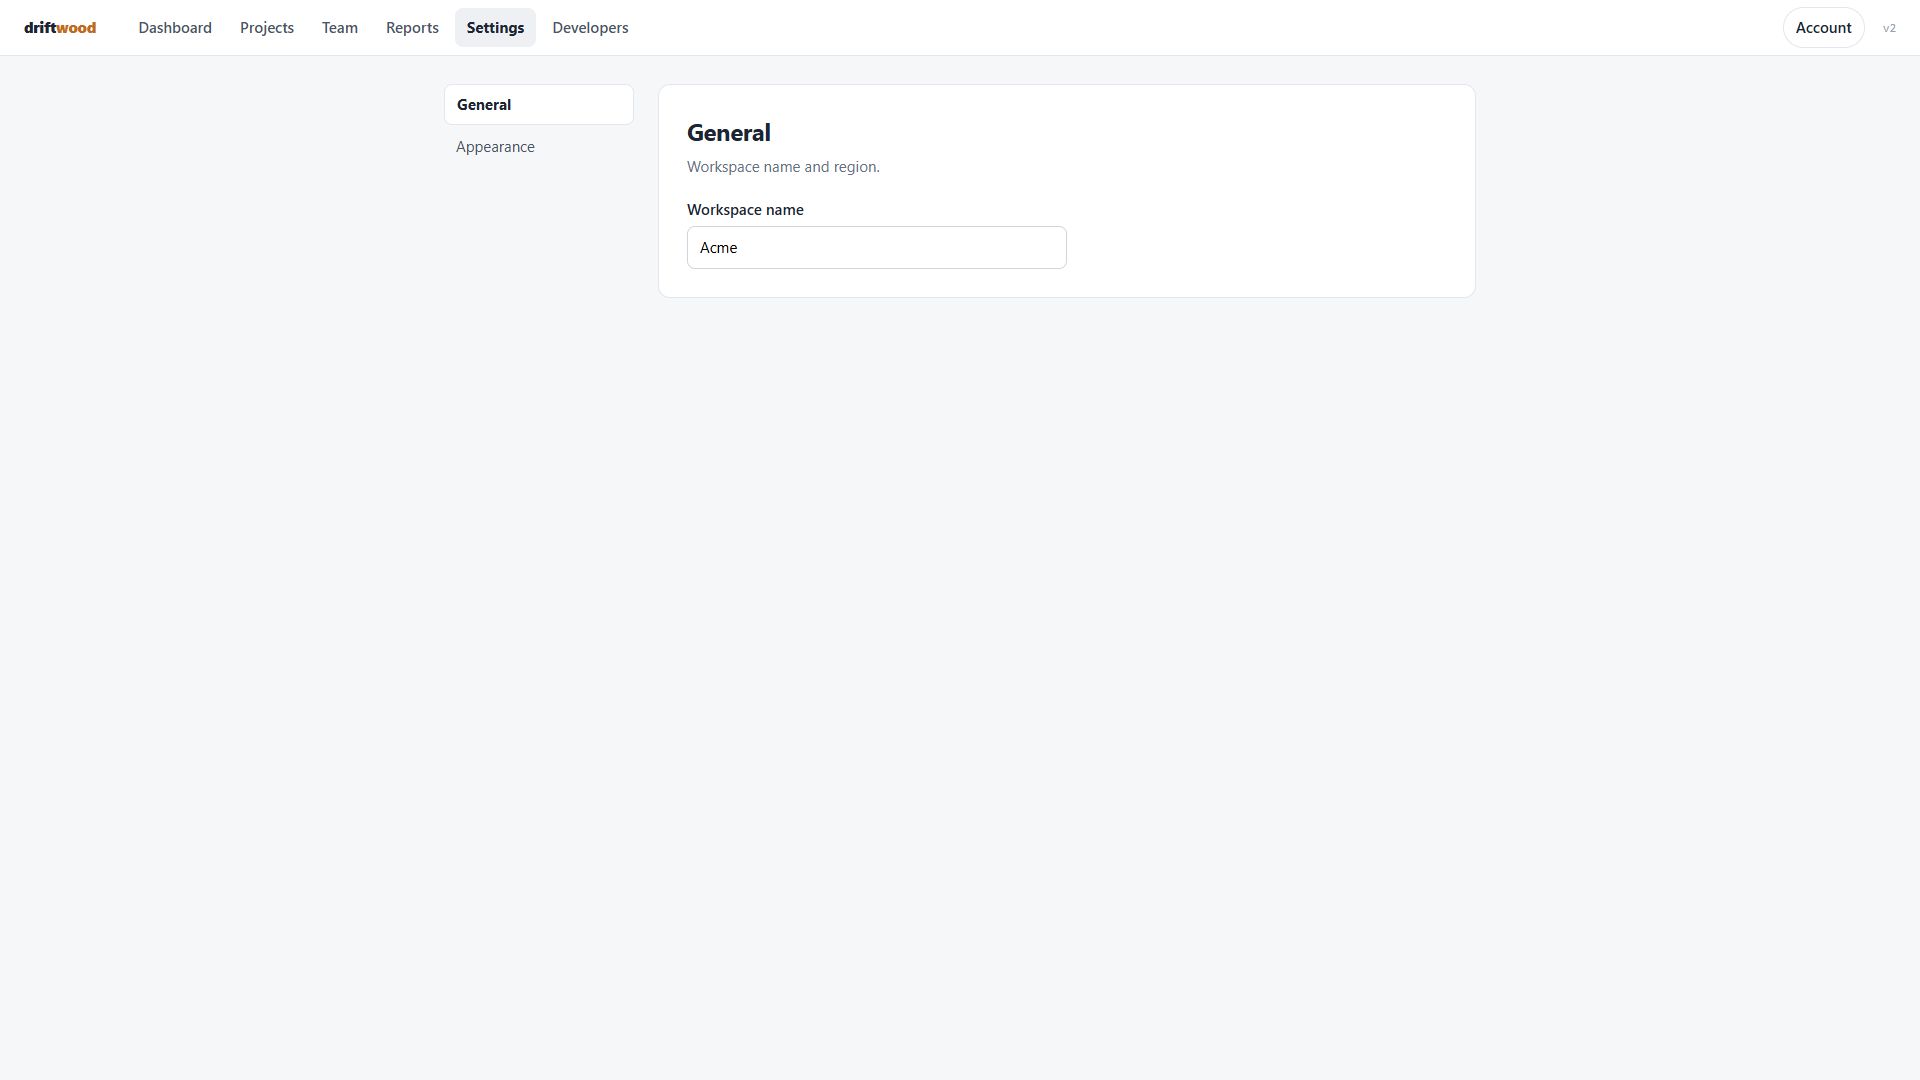
The run correctly opened Settings, but the next required Billing control was not available without clicking an unlisted Account disclosure.
Clicked, per the evidence pack: Settings
Kane's screenshot at the end of this run, from its sealed evidence pack
Follow these steps literally, one at a time, from the current page. Click only what each step names. Never type a URL, search, or take another route.
Where to find them, in the tutorial's own words: "Go to Settings → Billing and open Invoices."
1. Click the element whose visible label is exactly 'Settings'.
2. Click the element whose visible label is exactly 'Billing'.
3. Click the element whose visible label is exactly 'Invoices'.
If the page you end on has a main heading, store it as 'landed_on'; a page without a heading is fine.
Goal passed
testing · 26.4 cr · 76s- navigate: Navigate to http://localhost:4177
- click: Clicking the Settings link in top navigation
- click: Clicking Account settings disclosure in the sidebar
- click: Clicking Billing history link
- wait: PRIMARY: wait for the Billing history page to load
- analyze: The page you end on has a main heading.
- assert: a list of past invoices with dates and amounts is visible on screen
- analyze: The main heading is saved as {{landed_on}}.
- wait: Waiting checkpoint extraction has completed
- wait: Waiting confirm completion on the Billing history page
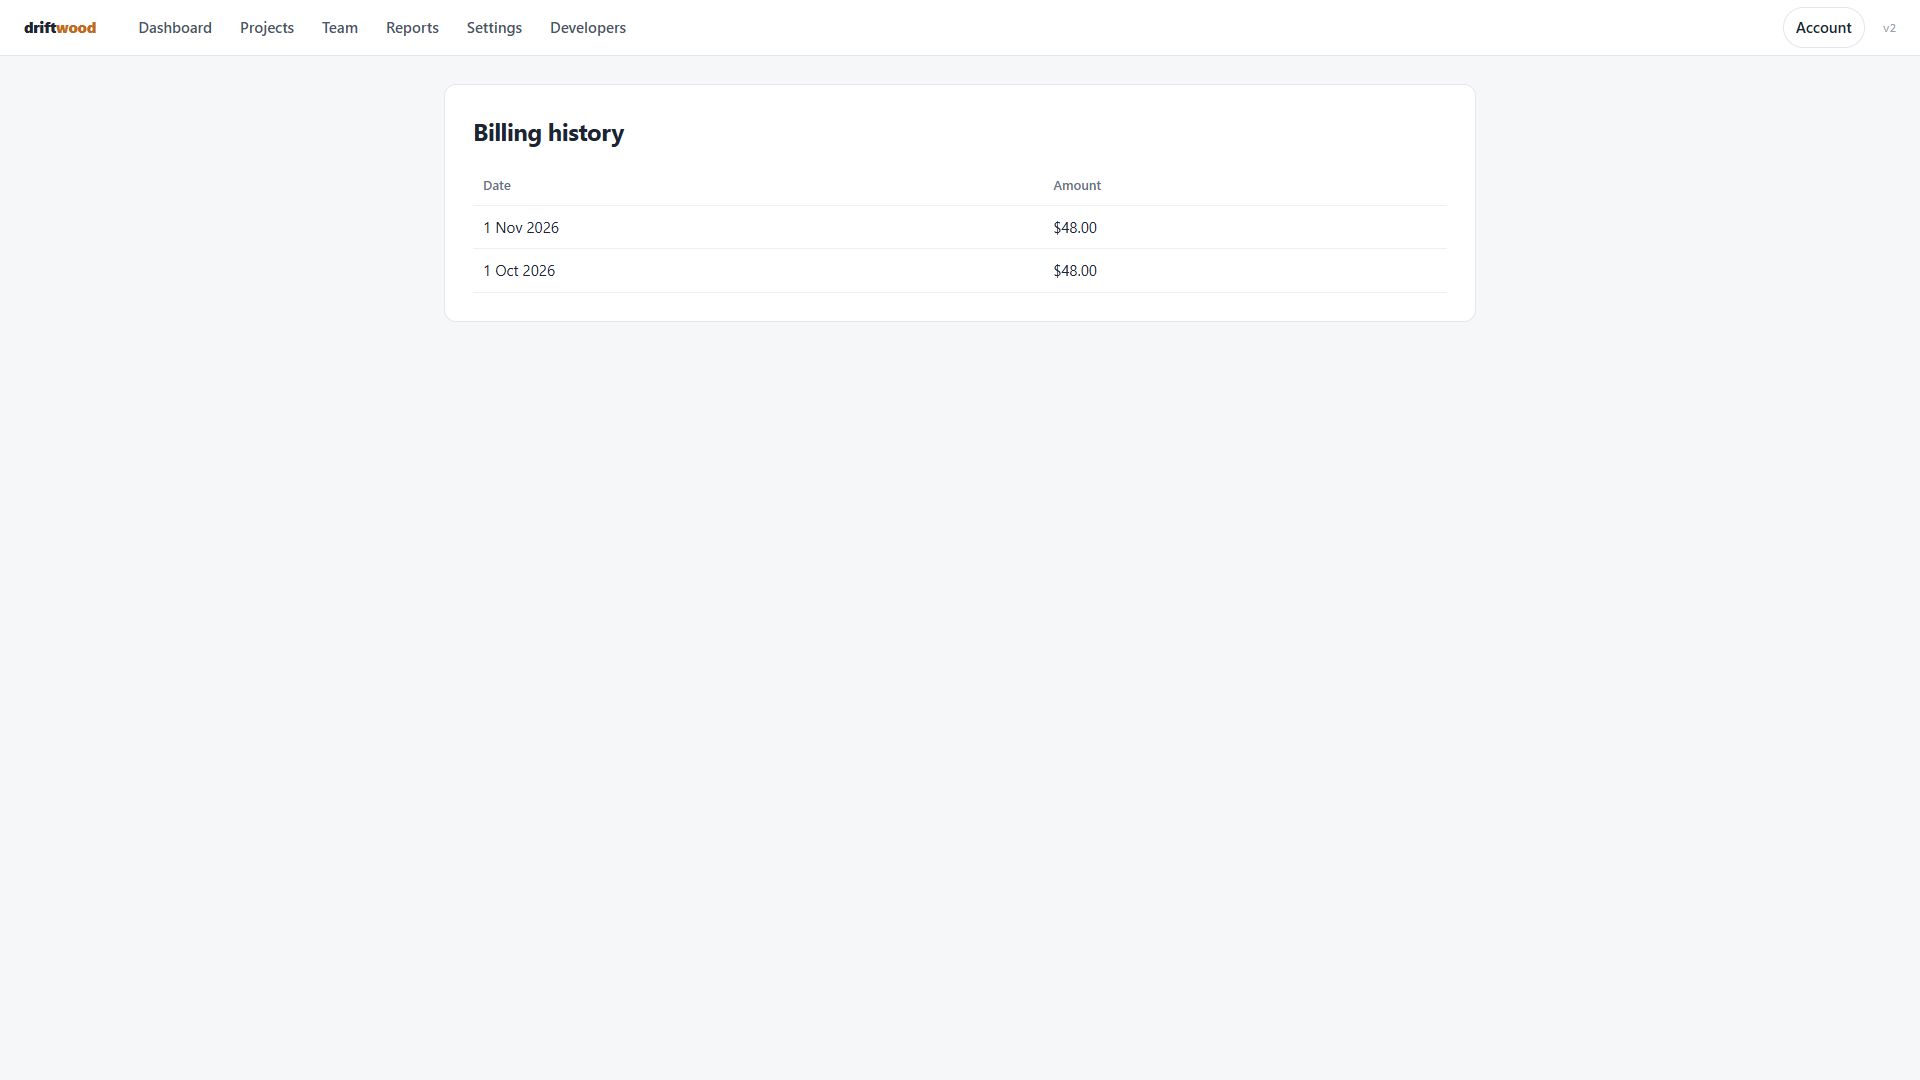
viewed past invoices on the account billing history page
Clicked, per the evidence pack: Settings → Account → Billing history
Kane's screenshot at the end of this run, from its sealed evidence pack
Goal: a list of past invoices with dates and amounts is visible. Reach it from the current page by clicking through the visible UI, by any route. Never type a URL or use the address bar.
Hint: an old tutorial said "Go to Settings → Billing and open Invoices.", but those labels may have moved or been renamed.
When the goal is met, verify it on screen. If the page you end on has a main heading, store it as 'landed_on'; a page without a heading is fine.
Proof · loop 1 passed
action · 30.6 cr · 66s- navigate: Navigate to http://localhost:4177
- click: Clicking Account in the top navigation
- click: Clicking Billing history in the expanded account menu
- wait: PRIMARY: wait for the Billing history page heading to be visible
- analyze: The page you end on has a main heading.
- analyze: the main heading is saved as {{landed_on}}
- wait: Waiting after checkpoint verification
- wait: Waiting after confirming the Billing history heading
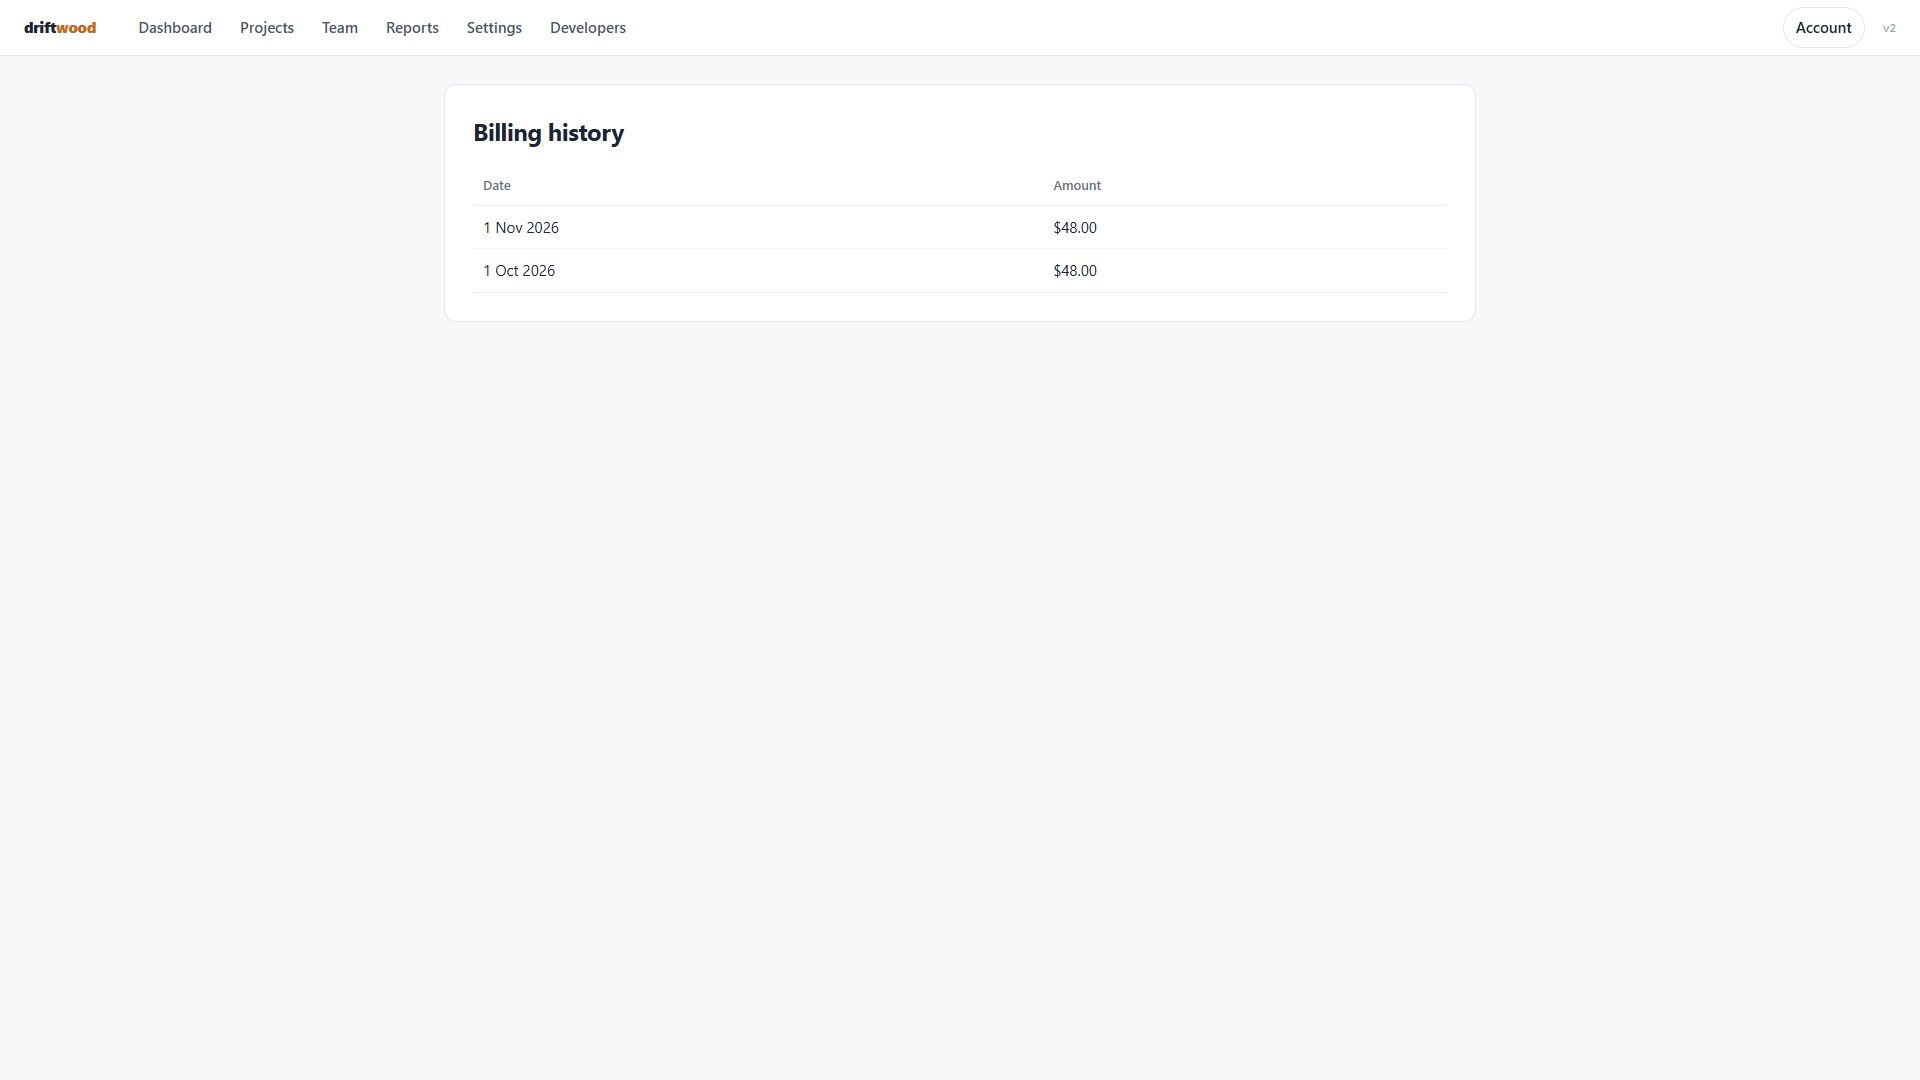
opened Billing history on the Account page
Clicked, per the evidence pack: Account → Billing history
Kane's screenshot at the end of this run, from its sealed evidence pack
Follow these steps literally, one at a time, from the current page. Click only what each step names. Never type a URL, search, or take another route.
Where to find them, in the tutorial's own words: "Open Account and click Billing history."
1. Click the element whose visible label is exactly 'Account'.
2. Click the element whose visible label is exactly 'Billing history'.
If the page you end on has a main heading, store it as 'landed_on'; a page without a heading is fine.
6Open Reports and click Export CSV.broken
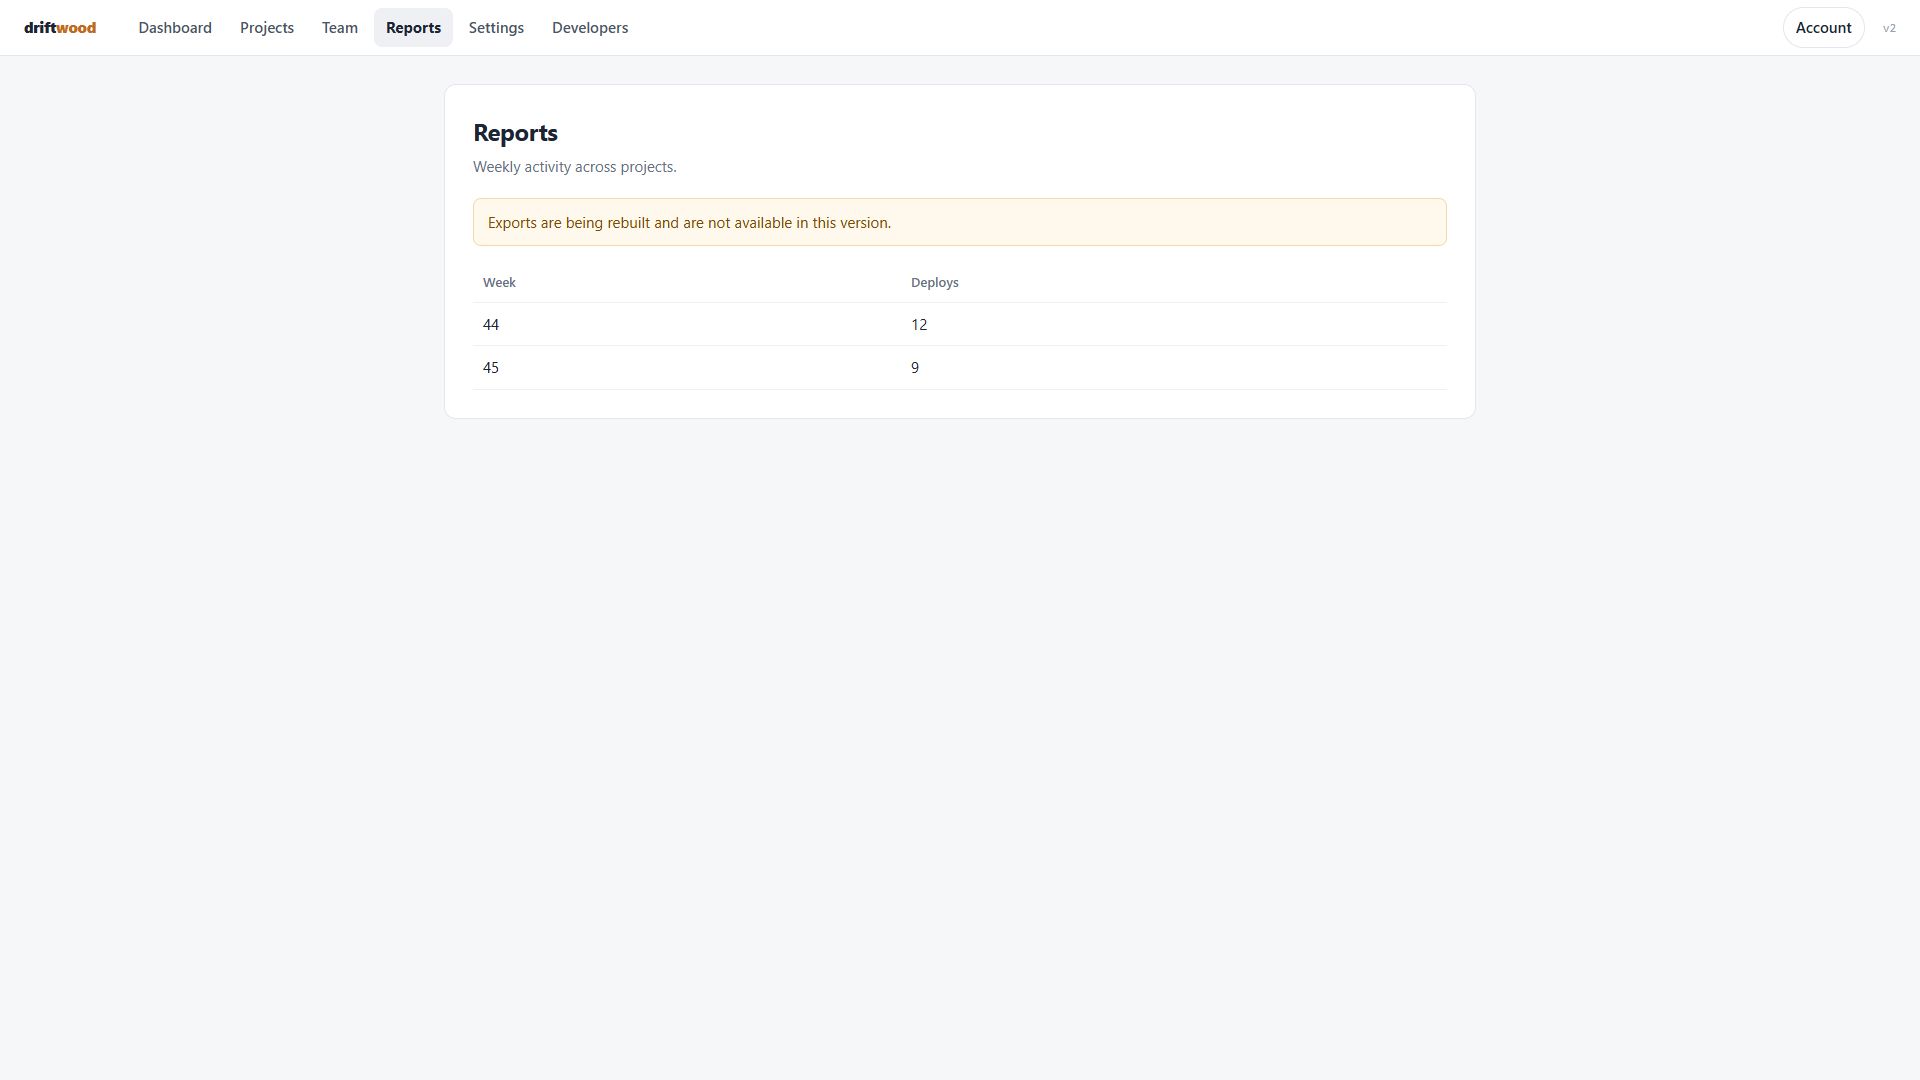
The Reports page states that exports are unavailable, so a CSV download cannot be prepared.
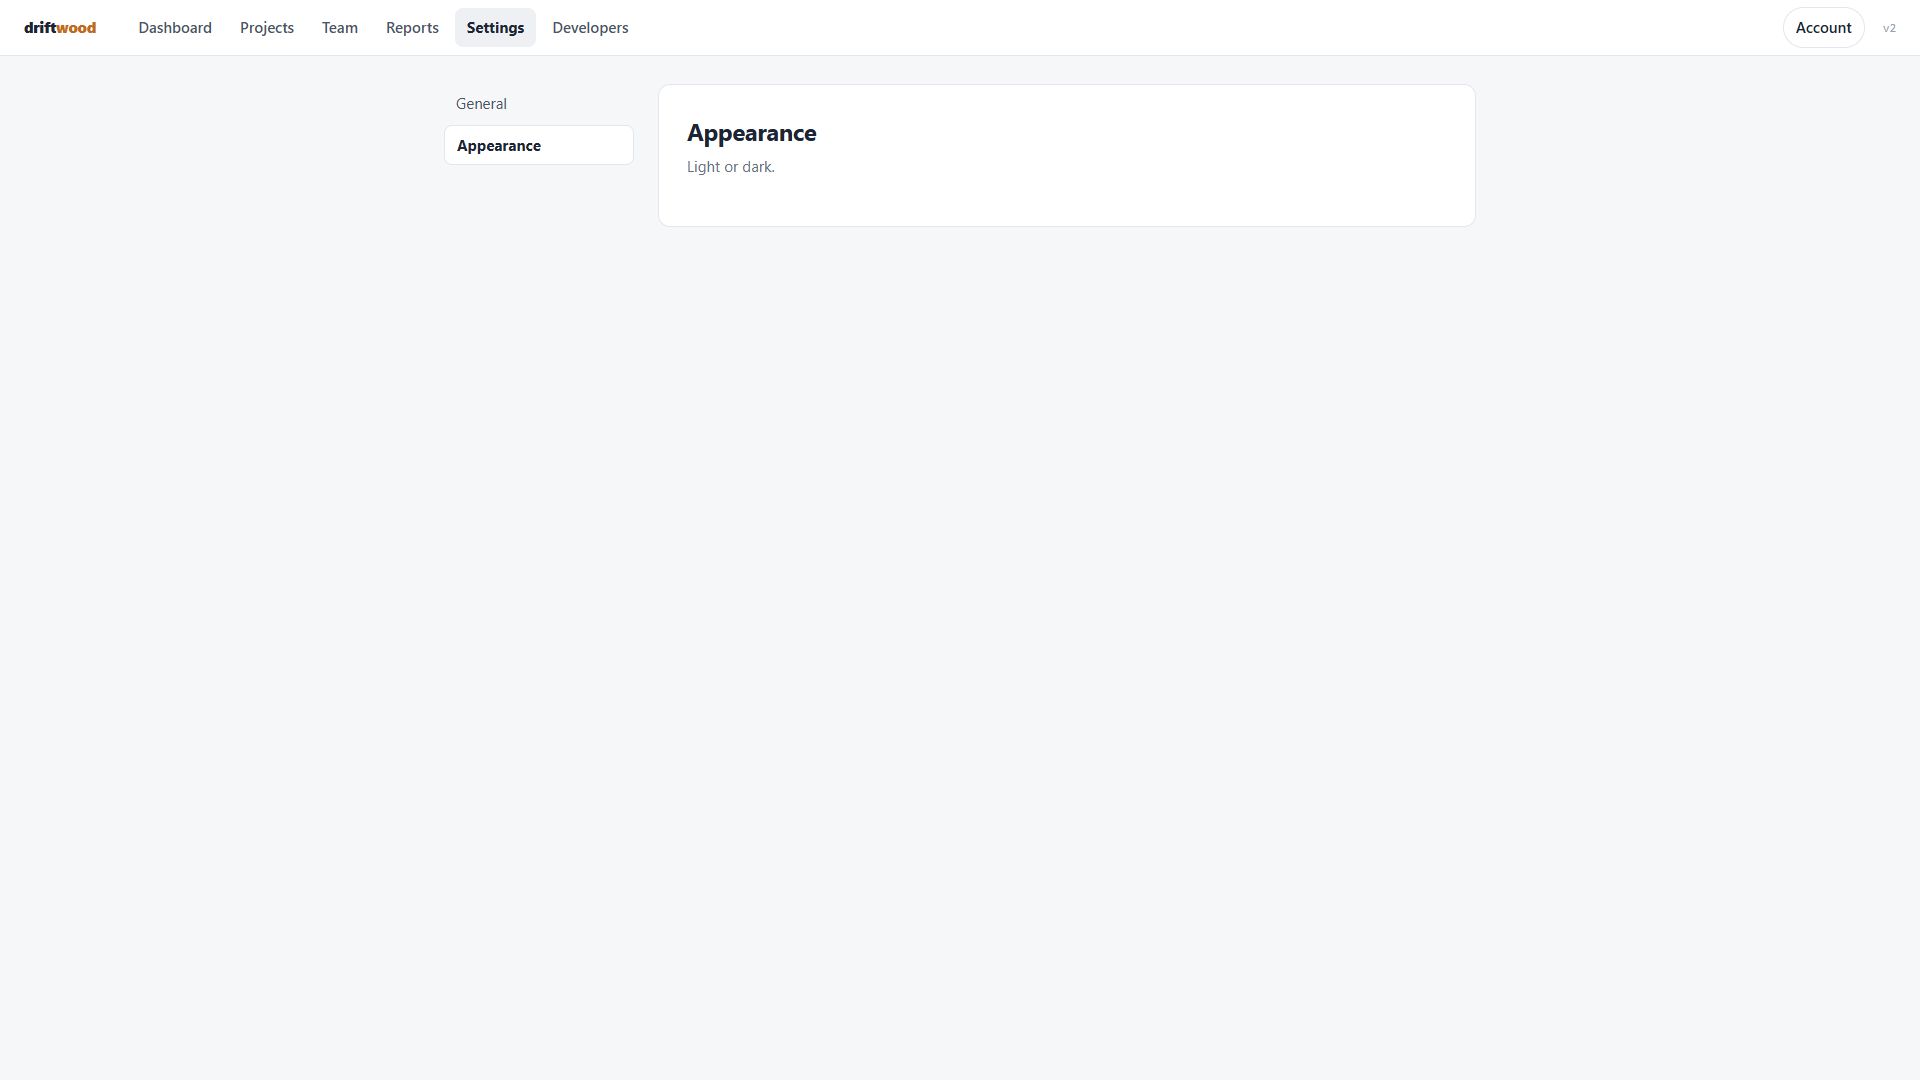
Kane tried16 clicks: Reports → Settings → Developers → Account → Team → Projects → Dashboard → Account → Billing history → Account → Profile → Developers → Tokens → Webhooks → Settings → Appearance
VerdictThe goal can't be reached by any route Kane could find.
What Kane did
Literal failed
action · 14.5 cr · 34s- navigate: Navigate to http://localhost:4177
- click: Clicking Reports link in navigation
- wait: Waiting after checking for the element whose visible label is exactly 'Export CSV'.
The test expected an Export CSV option even though exports were unavailable on the Reports page.
Clicked, per the evidence pack: Reports
Kane's screenshot at the end of this run, from its sealed evidence pack
Follow these steps literally, one at a time, from the current page. Click only what each step names. Never type a URL, search, or take another route.
Where to find them, in the tutorial's own words: "Open Reports and click Export CSV."
1. Click the element whose visible label is exactly 'Reports'.
2. Click the element whose visible label is exactly 'Export CSV'.
If the page you end on has a main heading, store it as 'landed_on'; a page without a heading is fine.
Goal failed
testing · 45.6 cr · 180s- navigate: Navigate to http://localhost:4177
- click: Clicking Reports in the top navigation
- click: PRIMARY: navigate to the reports export area; role=link; text="Settings" | HINTS
- click: PRIMARY: navigate to the reports export area; role=link; text="Developers" | HIN
- click: PRIMARY: reports export area navigation menu; role=button; text="Account" | HINT
- click: PRIMARY: navigate to the reports export area; role=link; text="Team" | HINTS: po
- click: PRIMARY: navigate to the reports export area; role=link; text="Projects" | HINTS
- click: PRIMARY: navigate to the reports export area; role=link; text="Dashboard" | HINT
- click: PRIMARY: reports export area navigation menu; role=button; text="Account" | HINT
- click: PRIMARY: navigate to the reports export area; role=link; text="Billing history"
- click: PRIMARY: reports export area navigation menu; role=button; text="Account" | HINT
- click: PRIMARY: navigate to the reports export area; role=link; text="Profile" | HINTS:
- click: PRIMARY: navigate to the reports export area; role=link; text="Developers" | HIN
- click: PRIMARY: navigate to the reports export area; role=link; text="Tokens" | HINTS:
- click: PRIMARY: navigate to the reports export area; role=link; text="Webhooks" | HINTS
- click: PRIMARY: navigate to the reports export area; role=link; text="Settings" | HINTS
- click: PRIMARY: navigate to the reports export area; role=link; text="Appearance" | HIN
- wait: Waiting after checking all visible report and navigation areas
The Reports page states that exports are unavailable, so a CSV download cannot be prepared.
Clicked, per the evidence pack: Reports → Settings → Developers → Account → Team → Projects → Dashboard → Account → Billing history → Account → Profile → Developers → Tokens → Webhooks → Settings → Appearance
Kane's screenshot at the end of this run, from its sealed evidence pack
Goal: a CSV export of the reports is ready to download. Reach it from the current page by clicking through the visible UI, by any route. Never type a URL or use the address bar.
Hint: an old tutorial said "Open Reports and click Export CSV.", but those labels may have moved or been renamed.
When the goal is met, verify it on screen. If the page you end on has a main heading, store it as 'landed_on'; a page without a heading is fine.
The patch
Only proven rewrites--- a/.errata/demo/quickstart.md +++ b/.errata/demo/quickstart.md @@ -6,8 +6,8 @@
1. Open the Driftwood dashboard and click **Projects**. <!-- goal: The Projects list is visible -->
-2. Click **Settings** → **API Keys** and press **Create key**. <!-- goal: A form to create a new API key or token is visible -->
+2. Open **Developers** → **Tokens** and press **New token**. <!-- goal: A form to create a new API key or token is visible -->
3. Copy the key into your `.env` file as `DRIFTWOOD_KEY`.
4. Open **Team** and click **Invite member**. <!-- goal: A form to invite a new member by email is visible -->
-5. Go to **Settings** → **Billing** and open **Invoices**. <!-- goal: A list of past invoices with dates and amounts is visible -->
+5. Open **Account** and click **Billing history**. <!-- goal: A list of past invoices with dates and amounts is visible -->
6. Open **Reports** and click **Export CSV**. <!-- goal: A CSV export of the reports is ready to download -->